How to Hitch a Trailer: A Step-by-Step Guide
Jul 17, 2023
A backup camera offers you a full range of views for smooth mobility and extra security for peace of mind. It is important to mount a rear backup RV camera behind your RV because you only have limited visibility on the things behind you while changing lanes and reversing. Doing installation may be an easy thing, but some RV sellers don't provide warranty if you drill holes on your newly purchased RV, so how to install the camera with no drilling? All you need to do is follow the guidelines below.
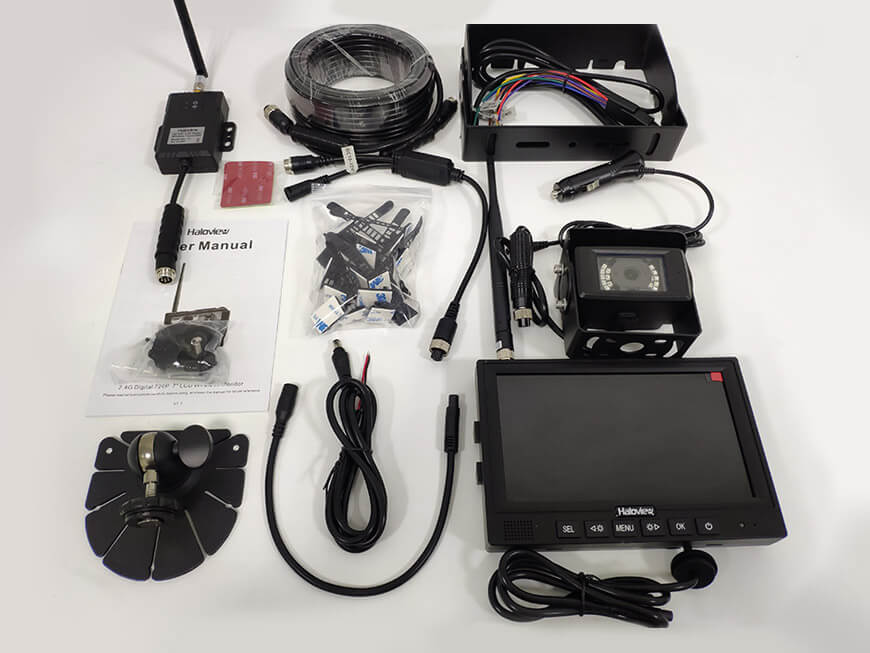
I assume you will install the Haloview rear view camera-RD7 on the roof of the RV and here is what's in the box:
Pairing the RD7 monitor and camera
Before you begin the installation, hook the unit up to make sure everything works. You don't want to get it all installed only to find out you have a problem somewhere. Follow this instruction below you can easily and quickly get the wireless backup camera system paired.
Some tools that you may need before you install your wireless backup camera
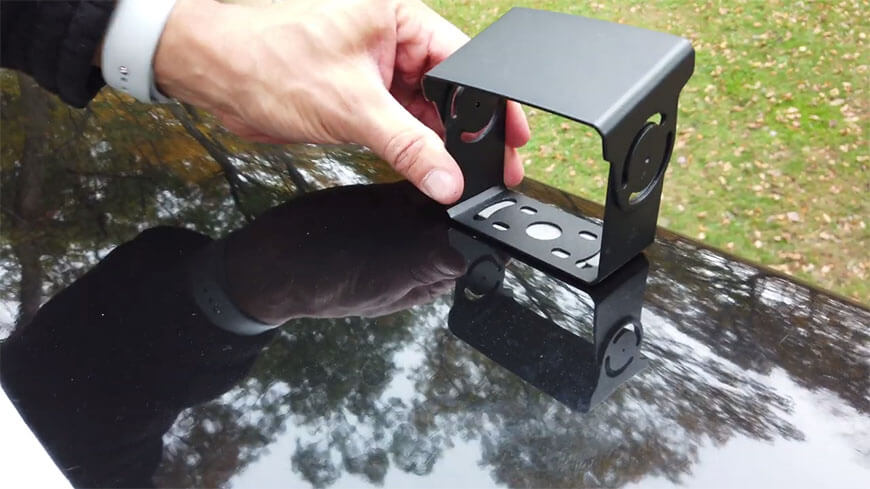
Step 1: Mount the camera onto the roof of your RV
To avoid drill into your roof, you may have to fix the camera with the 3M two-side tape and silicon. The RD7 camera should be centered on the back of your RV, make sure you have found the perfect spot before you stick the camera bracket in place. Next, add silicone sealant around the U support bracket to prevent it fall off.
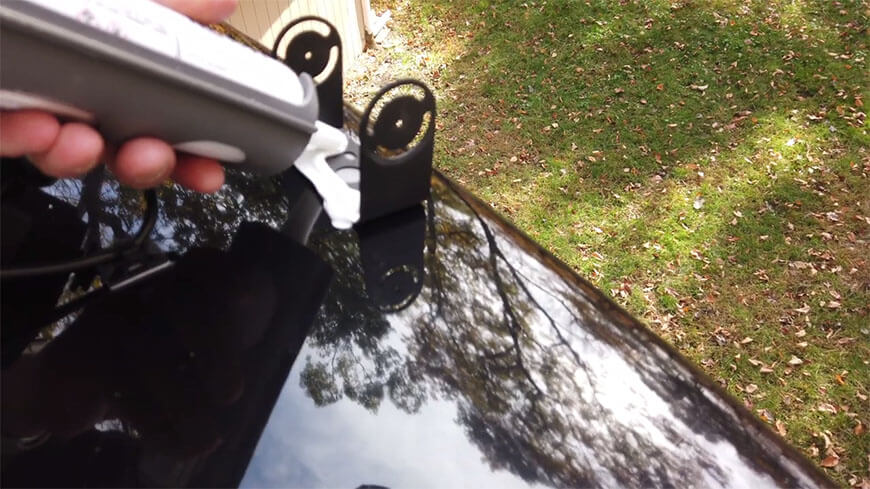
Step 2: Get power for the camera
Next, your camera will need to receive power and transmit data. Place the battery pack on the roof of your RV, then simply link the DC power cable of the camera, the camera will work when the battery switch turned on. Or you may not want to keep it powered at all times, you’ll consider connecting the power line to your rear running light, the camera will work when the lights are on. Turn on your RV or towing vehicle and check if it works.
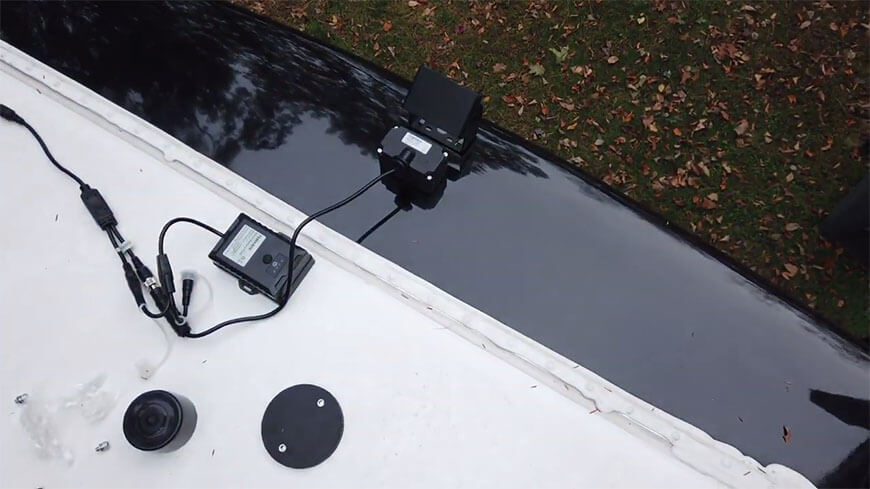
Step 3: Fix the extension cable and TX-Box
After your camera is installed and hooked up to a power source, it‘s time to get the extension cable fixed. Fix the cable with the provided wire fixtures, find a perfect spot to fix the TX-Box with the 3M VHB two-side tape. Using Silicone sealant to secure all connections and make any permanent placements.


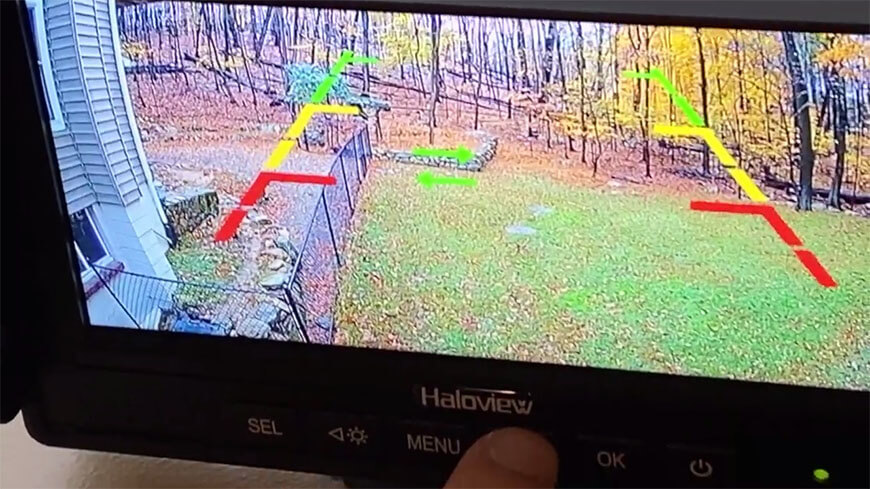
Step 4: Test the System
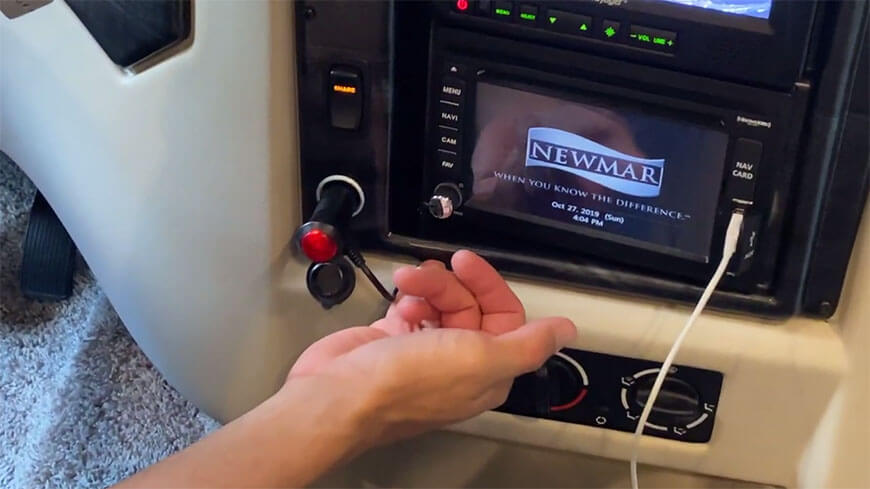
Get into the cab and test the camera and monitor using the provided cigarette lighter plug power adapter. Make adjustments until you achieve perfection. Lastly, place your monitor screen appropriately in the dashboard instrument panel.
Enjoy Your Wireless RV Backup Camera
Congratulations! You’ve just installed a new backup camera on your RV. Now you can reverse with confidence and enjoy the ride when traveling. If you'd like a camera monitor system like this, click the link at the bottom of the page. That is the best wireless rear view camera system for long length RV. The warranty is 1 year from the date of purchase. The Range Dominator series rear view camera support up to 4 cameras inputs, you can also add a pair of side marker light cameras to this system if you want side views.
RD7: https://www.haloview.com/haloview-7-inch-wireless-range-dominator-system.html
RD7-MINI: https://www.haloview.com/haloview-7-inch-wireless-range-dominator-system-rd7-mini.html
RD7-MAX: https://www.haloview.com/haloview-7-720p-wireless-range-dominator-system-rd7-max.html
RD5-MINI: https://www.haloview.com/haloview-5-inch-wireless-range-dominator-system-rd5-mini.html
We would like to thank you for reading this article.
Comments (2)
Brian Gillespie -
Monday, April 4, 2022
How do you Rotate rear camera, mine is working but showing upside down view. I have the RD7.
Thanks Brian
Larry Pickens -
Tuesday, June 1, 2021
Can you send me a manual on how to install the signal boosterTX-B2 to a M7108
Load More Comment...

Lastest Posts
-
-
Top 15 Backup Camera Mounts And Brackets May 30, 2022
-
Car Blind Spot - Everything You Need to Know Mar 11, 2022
-
Aftermarket Blind Spot Monitor Jan 4, 2022
Categories